


 640 / 1526

20
POWER STEERING
IX Assembly of the steering unit and functional
testing
Before assembly, all traces of paint and damages
must be removed from the face surfaces of the
housing and cover. In addition, all parts must be
thoroughly cleaned, lightly oiled and all sealing parts
must be renewed.The measuring and adjusting tools
used must be regularly checked for accuracy.
A) Pre-assembly of housing
1. Clamp the housing in the Assembly Vice Tool-
No 3.
2. The rollers are fitted with grease and a polyamide
filler piece in the roller gap; this provides protection
when the parts are stored and remains in the
steering unit).
Insert the sector shaft; this is important for
installing the seal rings (6.1 and 6). Remove the
sector shaft.
3. Place one round seal ring (6.1) and one seal ring
(6) in each of the two radial grooves of the housing
neck. Special care must be taken to ensure that
the polyamide rings with the beveled surface lie
on the same inclined surface of the groove.
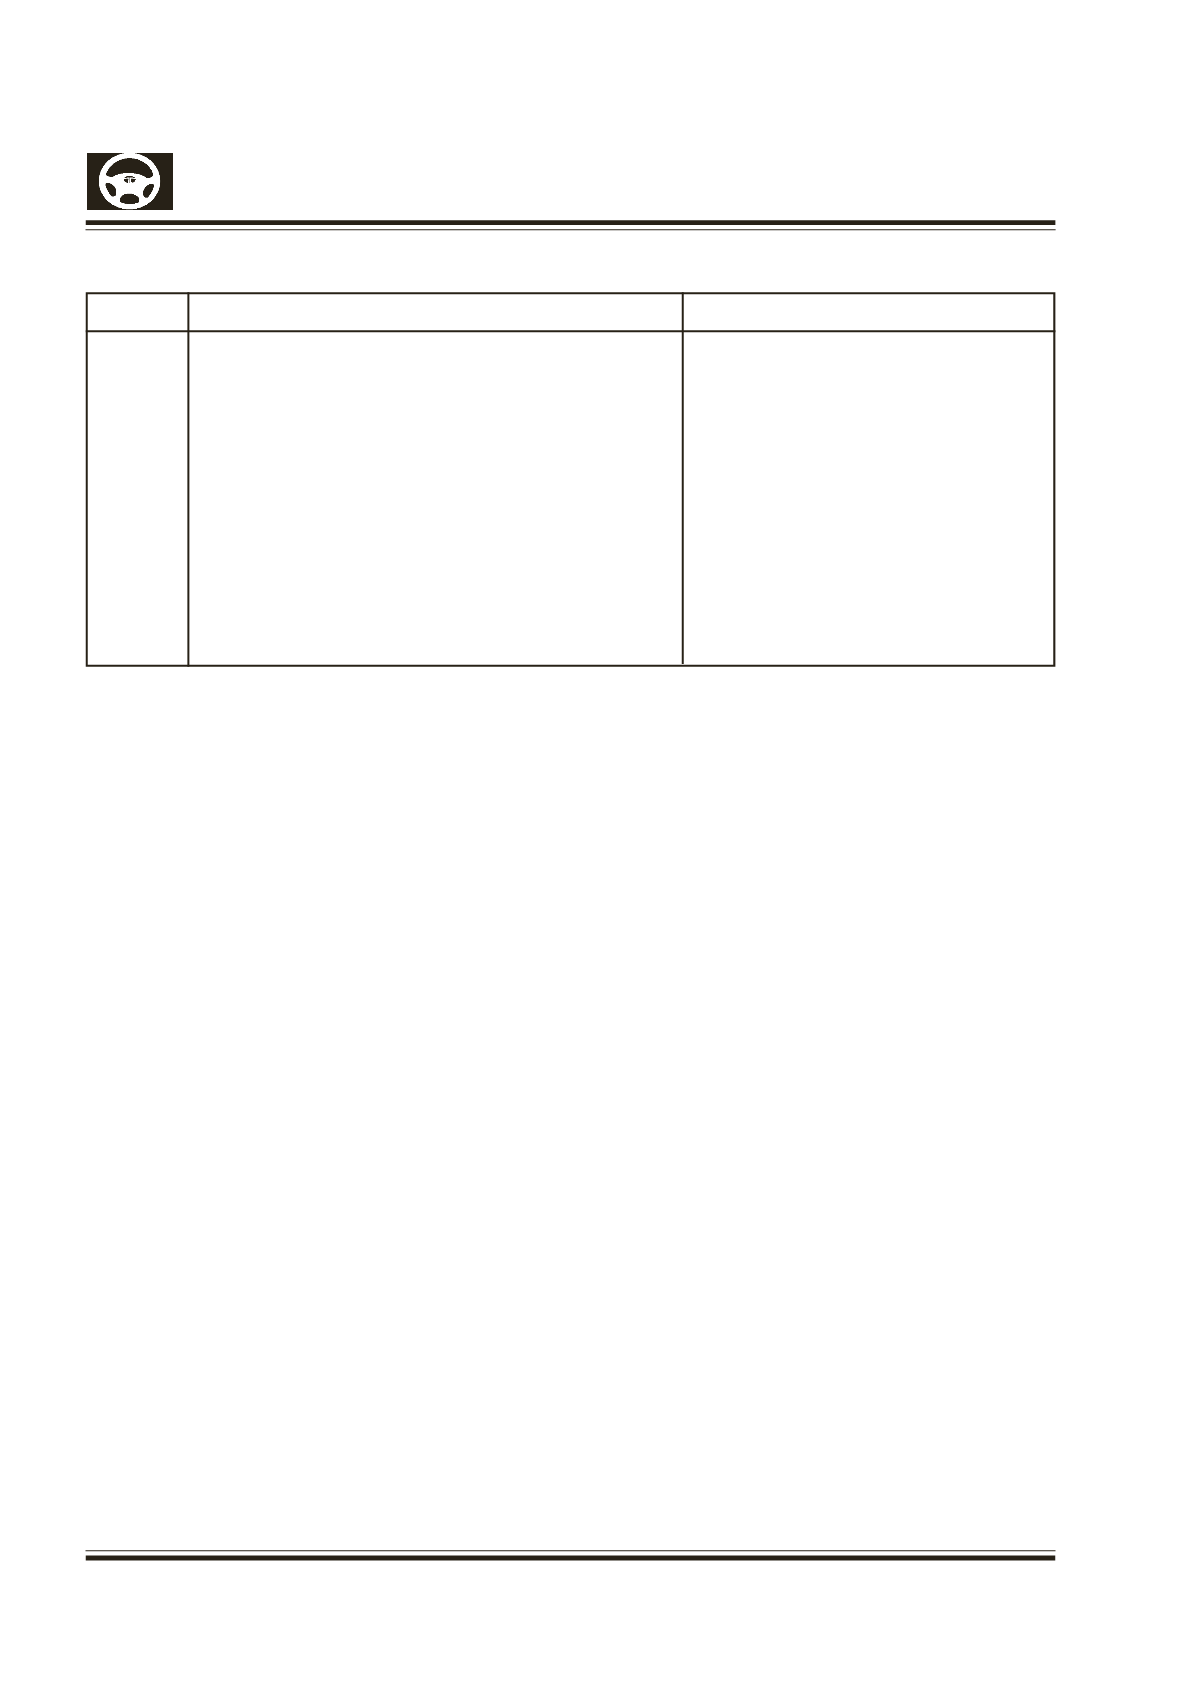
VIII Technical Data.
SR.NODESCRIPTION
VALUES
1
FRICTION MOVEMENT OUT-SIDE “SAP”, MEASURED
40-60 NCM
AT INPUT SHAFT OF STG. GEAR BOX
2
FRICTION MOVEMENT AT “SAP”, MEASURED AT
ADD 70-150 NCM
INPUT SHAFT OF STG. GEAR BOX
HIGHER TO 1.
3
HEX. BOLTS(132)/COVER(128)
M10 = 62NM
M12X1.5 =115 NM
M14X1.5 =190 NM
4
HEX. BOLTS(46)/COVER(40)
M10 = 62NM
M12X1.5 =115 NM
M14X1.5 =190 NM
M16X1.5 =285 NM
5
SEALING-NUT(50)
70 NM