


 510 / 1525

35
BRAKES
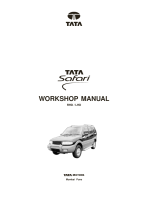
Repeat the same procedure on the right front caliper,
left rear wheel cylinder followed by the rear right wheel
cylinder. Fig.37.
If the bleeding of any cylinder continues without
success for a considerable time, it may be that air is
being drawn in past the bleed screw threads. In such
instances, the bleed screw should be closed at the
end of each downward stroke of the pedal allowing
the pedal to return fully to its stop before reopening.
Tighten the bleed screw finally after the last downward
stroke of the pedal. Replace the dust cap on the bleed
screw.
After completion of bleeding, apply the brake pedal
hard and check for any leak at the joints and bleed
screws.
Also check the brake pedal for "sponginess". If found
spongy repeat the complete procedure of bleeding.
If pressure bleeding is done, the engine need not run.
But the sequence of bleeding operation should still be
left front - right front - left rear and right rear only.
Always use recommended brand of brake fluid.
Do not use the fluid bled from the system for refilling
in to the reservoir.
CAUTION :
Brake fluid may cause damage to paint.
So make sure that brake fluid does not
touch the painted surface. In case brake
fluid comes in contact with painted
surface, wipe immediately & clean the
surface.
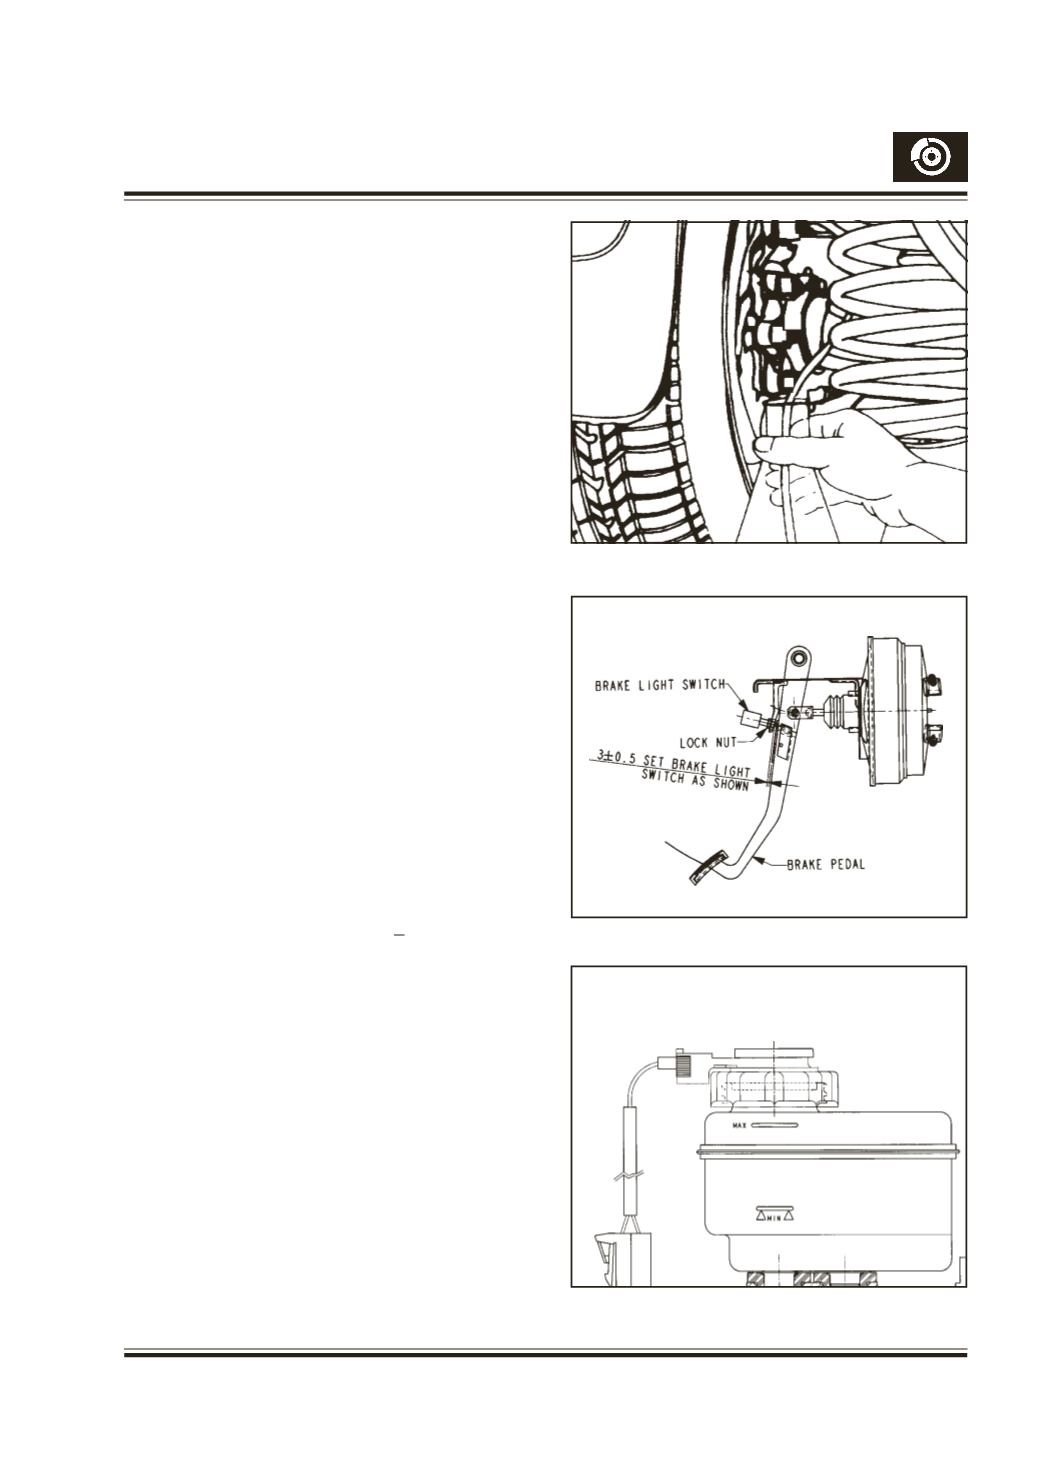
Set brake light switch dimensions 3 + 0.5 and tighten
lock nut (Fig. 38)
Brake Fluid Level Inspection :
After completion of brake bleeding check the brake
fluid level in the reservoir. The fluid level should be
between MIN &MAX level indicated on the brake fluid
reservoir.
If the warning lamp glows during engine 'ON' condition
replenish fluid to MAX line Fig. 39.
Never use a container which has been used for mineral
oil or which is wet. Always keep all brake fluid
containers capped to prevent contamination.
Fig. 37 - Bleeding the Rear Wheel Cylinder
Fig. 38
Fig. 39