


 130 / 1525

91
4 DLT ENGINE
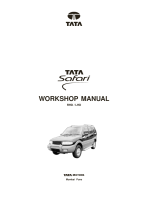
FUELTANK
The fuel tank is located behind the rear axle of the
vehicle. (Fig. 177)
Removal
1.
Remove the fuel tank cap.
2.
Drain the fuel from the fuel tank before removing
the tank from the vehicle via drain plug. Do not
drain or store fuel in an open container to avoid
possibility of fire or explosion.Put lid on container.
Unscrew banjo bolt and disconnect suction line
from fuel tank strainer.
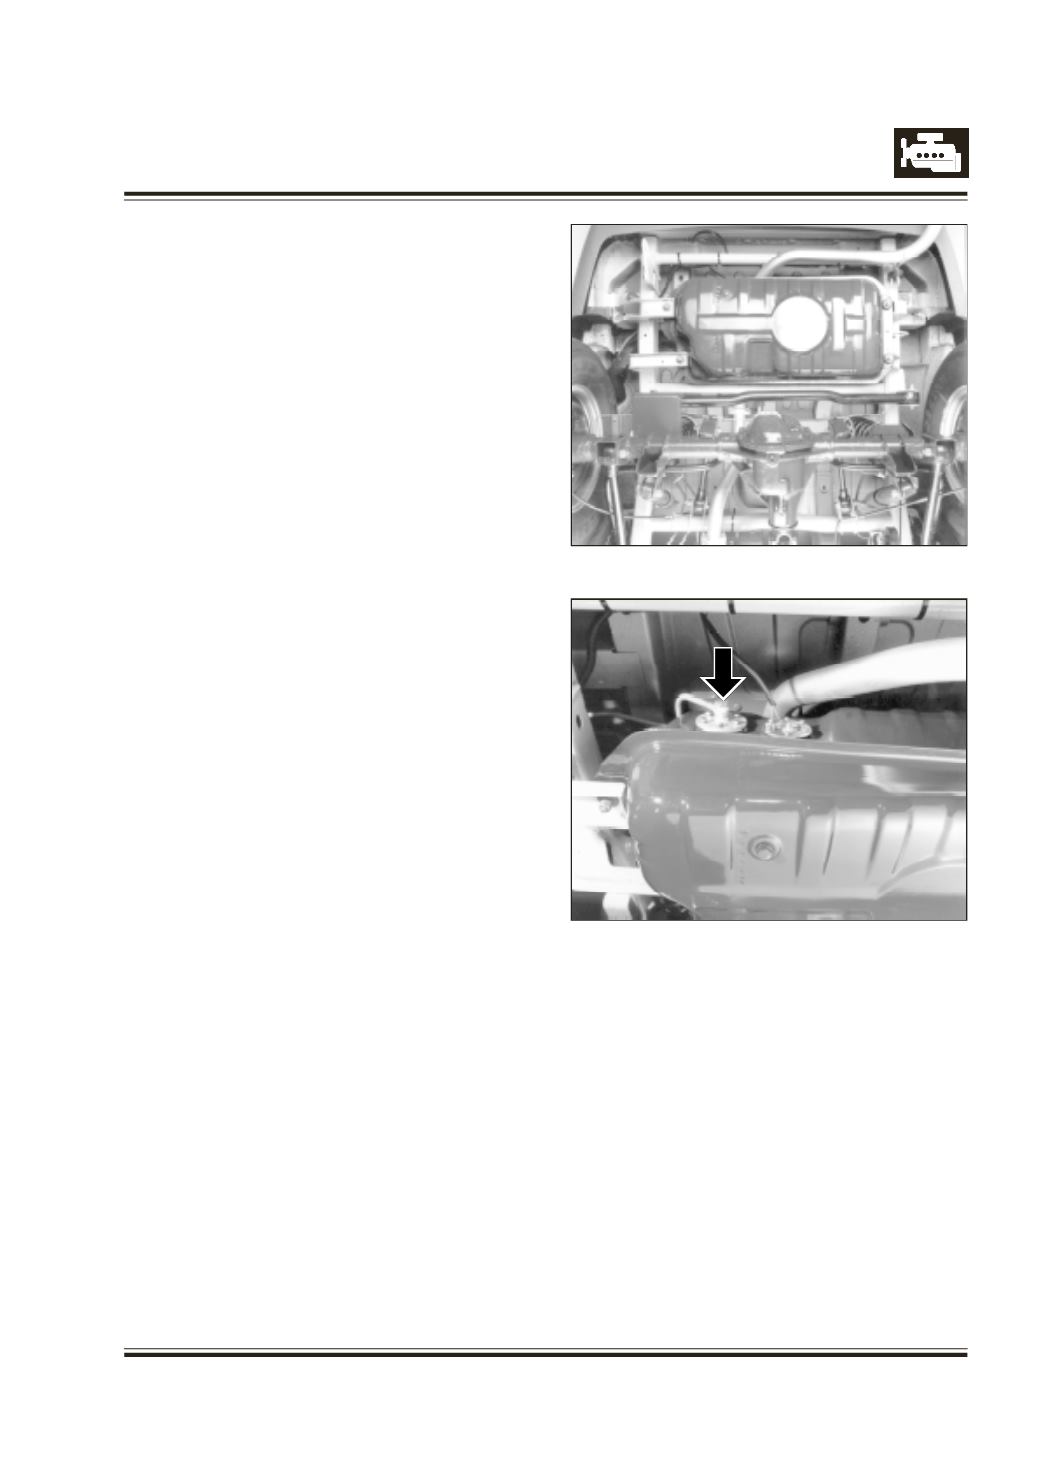
3.
Unscrew banjo bolt and disconnect return line
from fuel tank. (Fig. 178)
4.
Disconnect the fuel gauge unit connector.
5.
Disconnect the fuel filler neck and connecting
hose Remove the clamp assy.
6.
Loosen the fuel tank mounting screws and take
out the tank from vehicle.
Inspection
1.
After removing fuel tank, visually inspect fuel
tank for deterioration, leaks and damage. Replace if
necessary.
Note :
Any repair on fuel tank using external heat or
flame may result in personal injury or damage.
Fuel tank purging procedure
1.
Remove fuel tank from the vehicle 'Refer
procedure as mentioned above.
2.
Remove fuel strainer and fuel level gauge from
fuel tank.
3.
Shift the tank to flushing area.
4.
Fill tank with warm water or normal tap water
and agitate vigorously and drain water.
Repeat the procedure until inside of tank is clean.
5.
Replace the fuel tank if it is rusty from inside.
6.
Completely flush out remaining water after
washing.
Warning :
Do not allow water to remain inside fuel tank after
washing.This will cause corrosion inside fuel tank.
Fig. 177
Assembly
1.
Assemble fuel strainer and fuel level gauge to
fuel tank. Assemble fuel strainer with new 'O'
ring.
Connect suction line to fuel tank strainer and
tighten banjo bolt to specified torque
Always use new sealing washers.
2.
Connect return line to fuel tank and tighten banjo
bolt to specified torque. Always use new sealing
washers.
3.
Install fuel filter hose after fuel tank has been
mounted in place. Failure to follow this caution
could result in leakage from around hose
connections.
4.
Fill the tank with fuel.
Fig. 178