


 373 / 1588

10
FRONT AXLE - 4
X
2
3. DISMANTLING OF FRONT AXLE
A. REMOVAL OF FRONTWHEELS :
a. Place wheel chokes on both sides of rear
wheels.
b. Slightly loosen the front wheel nuts.
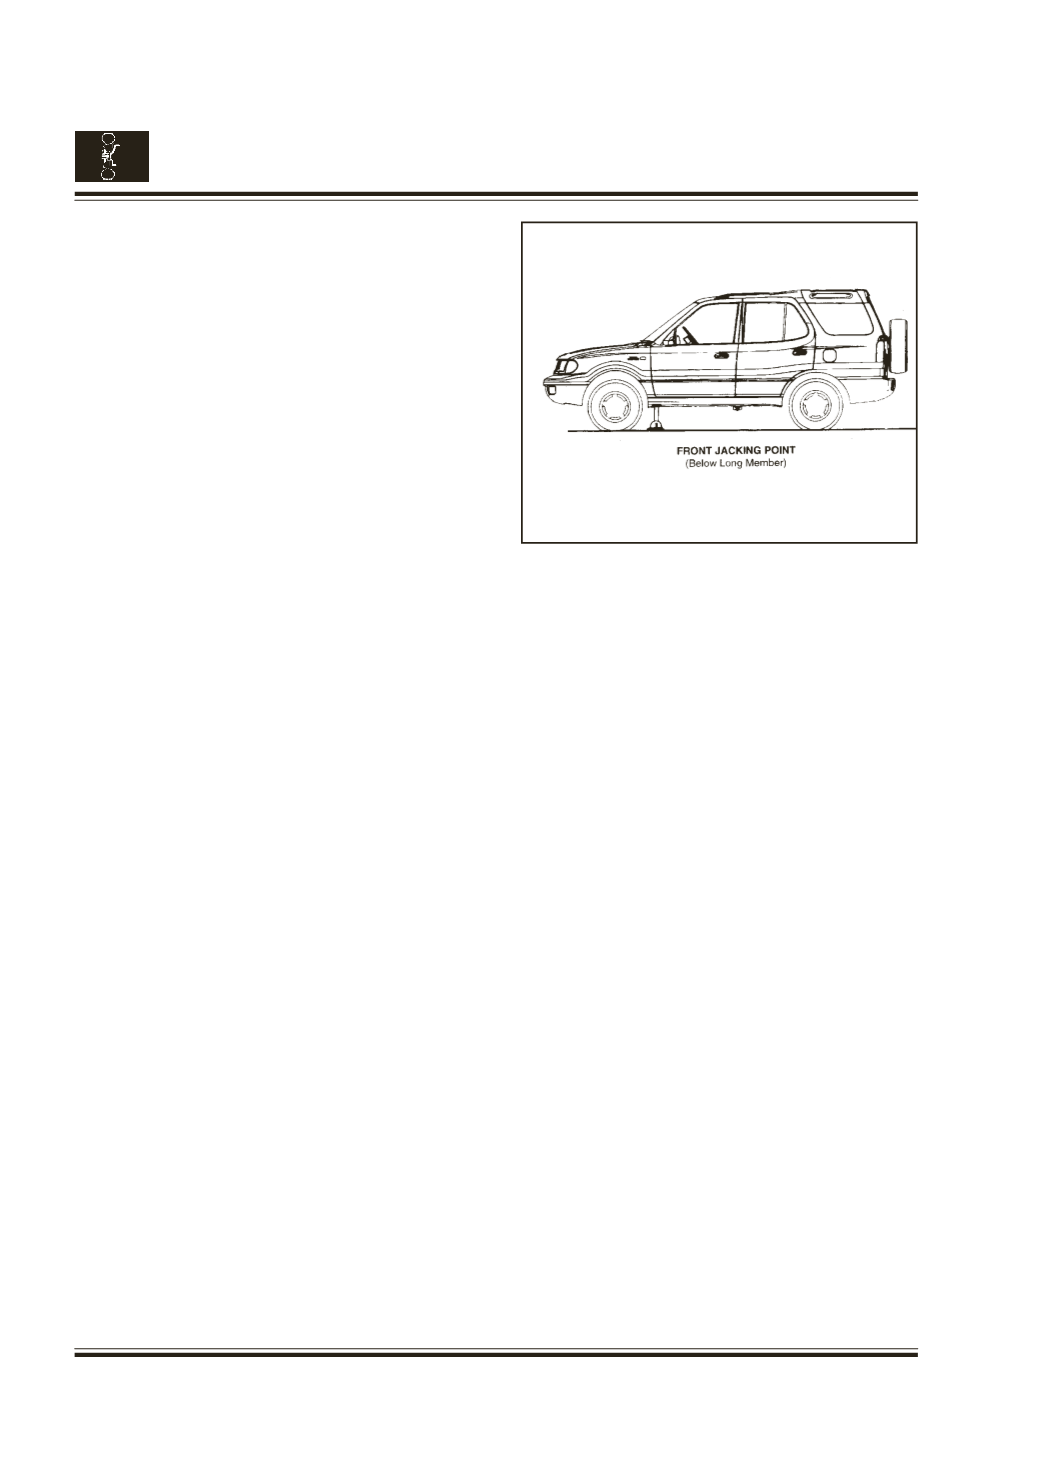
c. Keep the jack below the long member, behind
front wheel and jack up (Fig. 1a). Support the
frame long member behind the front wheels
with suitable support.
d. Similarly jack up the other side and support
the long member.
e. Unscrew and remove the wheel nuts.
f. Remove the front wheels.
B. REMOVAL OF FRONT HUB ASSEMBLY
Precaution :
1)
Dismantle the LH & RH side assemblies
separately.
2)
Do not mix-up the parts from LH & RH sides.
This is required to maintain the proper runout of brake
disc & axial play of hub.
a. Disconnect the front brake hose from the brake
bundy pipes on the bracket on chassis frame.
Close the bundy pipes with plugs to avoid
brake fluid loss.
b. Disconnect the brake hose from brake caliper
by taking out the banjo bolt.
For vehicles with ABS dismantle the wheel
speed sensor from stubaxle.
c. Unscrew and remove the two screws
connecting the caliper assy. to the stub axle
and remove the caliper assy. from the stub axle.
d. Unscrew and remove the flanged screws
connecting the hub cover and the hub, and
remove the hub cover with gasket.
e. Unscrew the cap screw on the split nut.
f. Unscrew and remove the split nut from the stub
axle.
g. Remove the thrust washer from the stub axle.
h. Using puller part no. 2654 5890 33 01, remove
the front hub assy. with disc from the stub axle.
i. Remove the spacer and shims.
j. Remove the puller from the hub.
C. DISMANTLING OF FRONT HUB ASSY.
a. Take out the inner racewith cage of outer bearing
from hub assy.
b. Using special tool, Rocker, Pt. No. 2654 5890
33 03 and a suitable handle remove the outer
race of outer bearing.
c. Using special tool, Rocker, Pt. No. 2654 5890
33 02 and a suitable handle remove the inner
bearing with oil seal.
d. Clean all parts thoroughly.
Fig. 1a