


 1560 / 1588

9
BODY
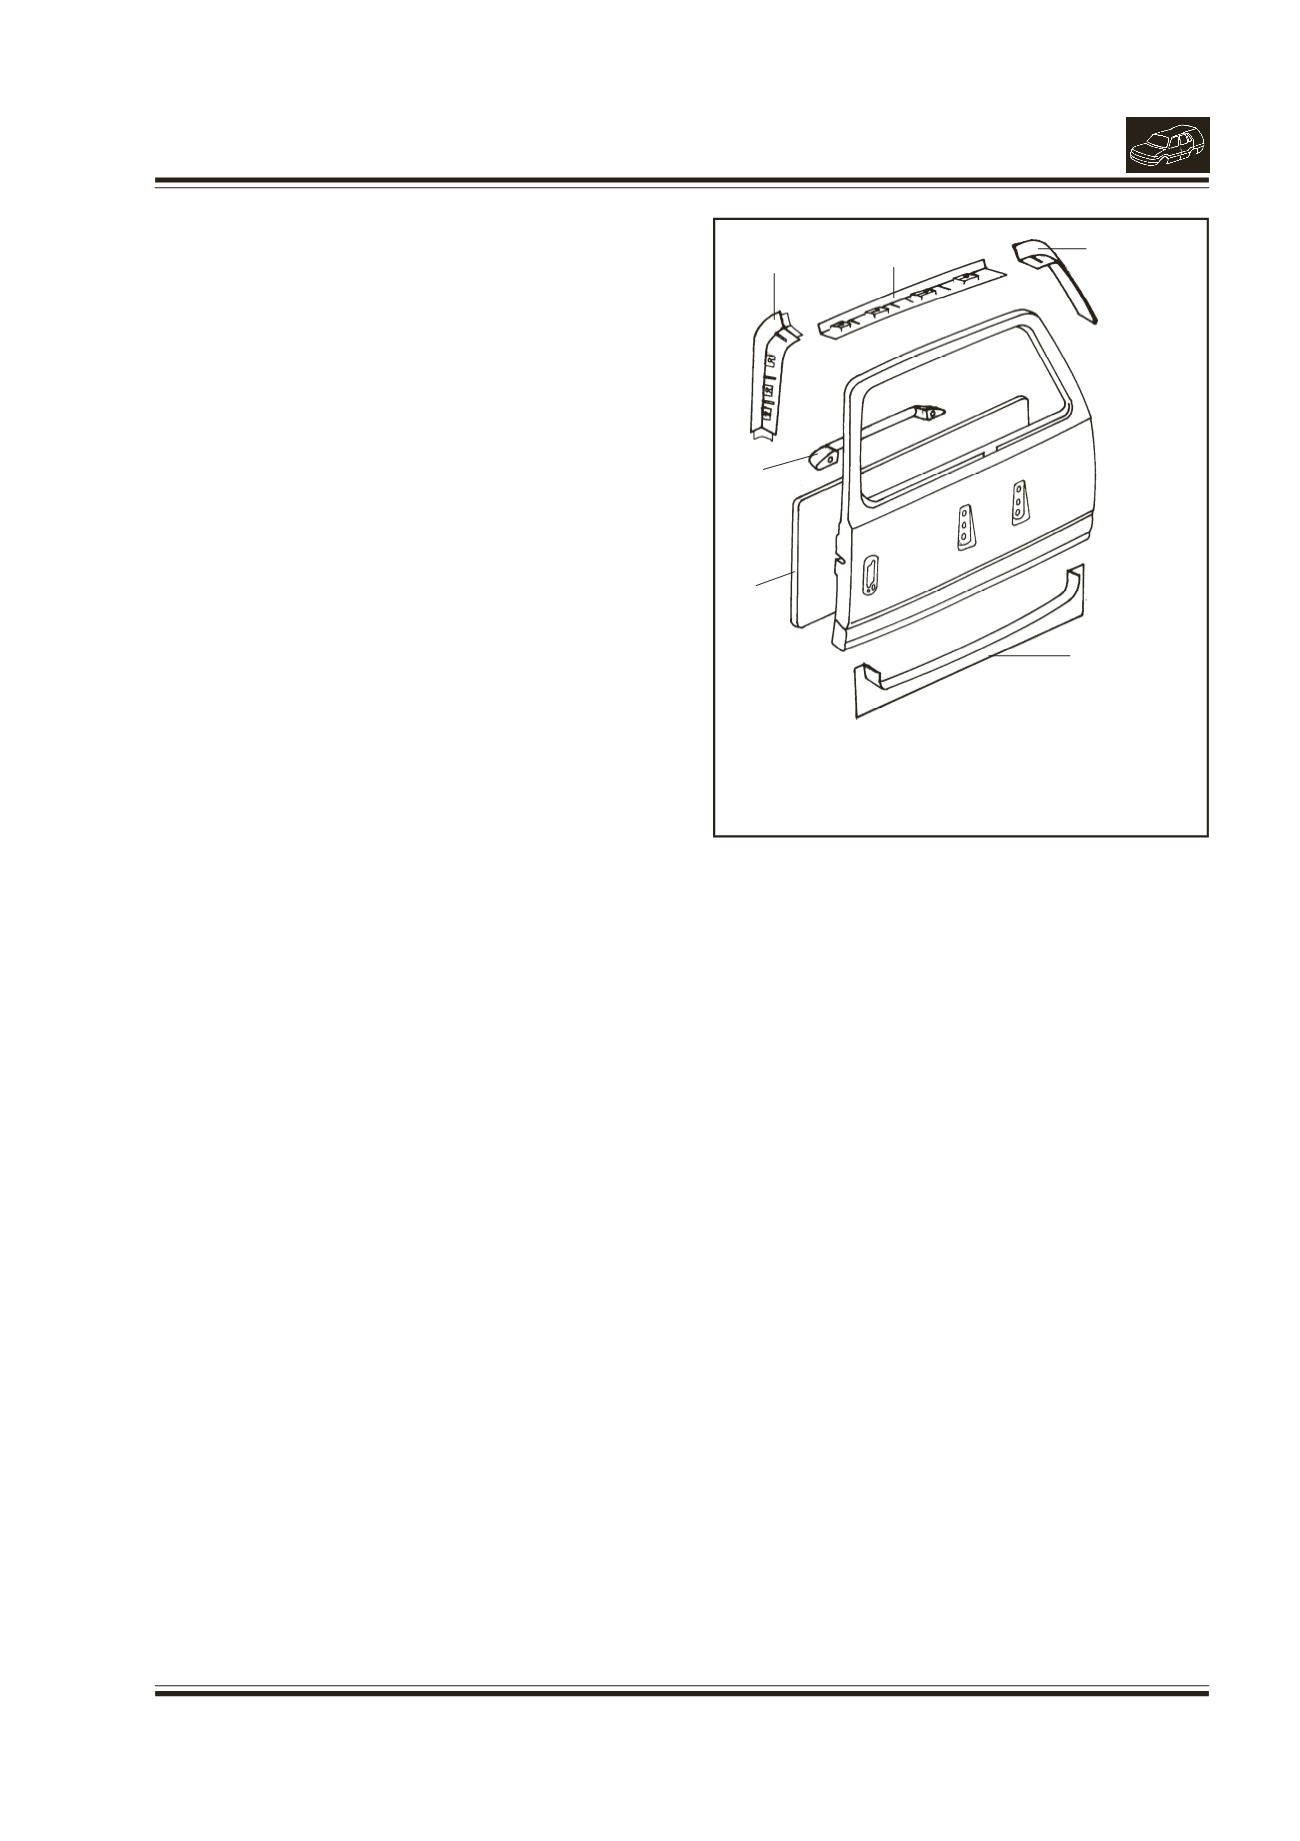
4. REMOVAL/INSTALLATION OF TAIL GATE INNER
TRIMS
(Fig. 3)
REMOVAL
l
Open the tail gate.
l
Remove 2 mounting screws of door pull and
remove grab handle.
l
Remove the inner handle cover by removing the
screw.
l
Pull out trim middle, trim top, trim LH, trim RH and
trim lower, for removing lower trim remove four
speaker mounting screws.
INSTALLATION
l
Replace the trim clips.
l
Locate trim lower on door, ensuring proper
alignment of trim clips in the mounting holes on
door. Press the trim on door properly.
(10 trim clips on trim lower,
4 trim clips on trim middle,
4 trim clips on trim top,
3 trim clips on trim RH,
3 trim clips on trim LH)
l
Similarly fit the trim LH and trim RH, trim top and
trip middle.
l
Fit the door pull using 2 csk screws (M6x16) and
bright washers (6.4) and tighten the screws.
l
Fit the inner handle cover by tightening the pan
hd. screw (M6x16).
Fig. 3.
1.
DOOR PULL
2.
TRIM MIDDLE
3.
TRIMTOP
4.
TRIM LH
5.
TRIM RH
6.
TRIM LOWER
1
2
3
4
5
6