


 434 / 654

ELECTRICAL
5
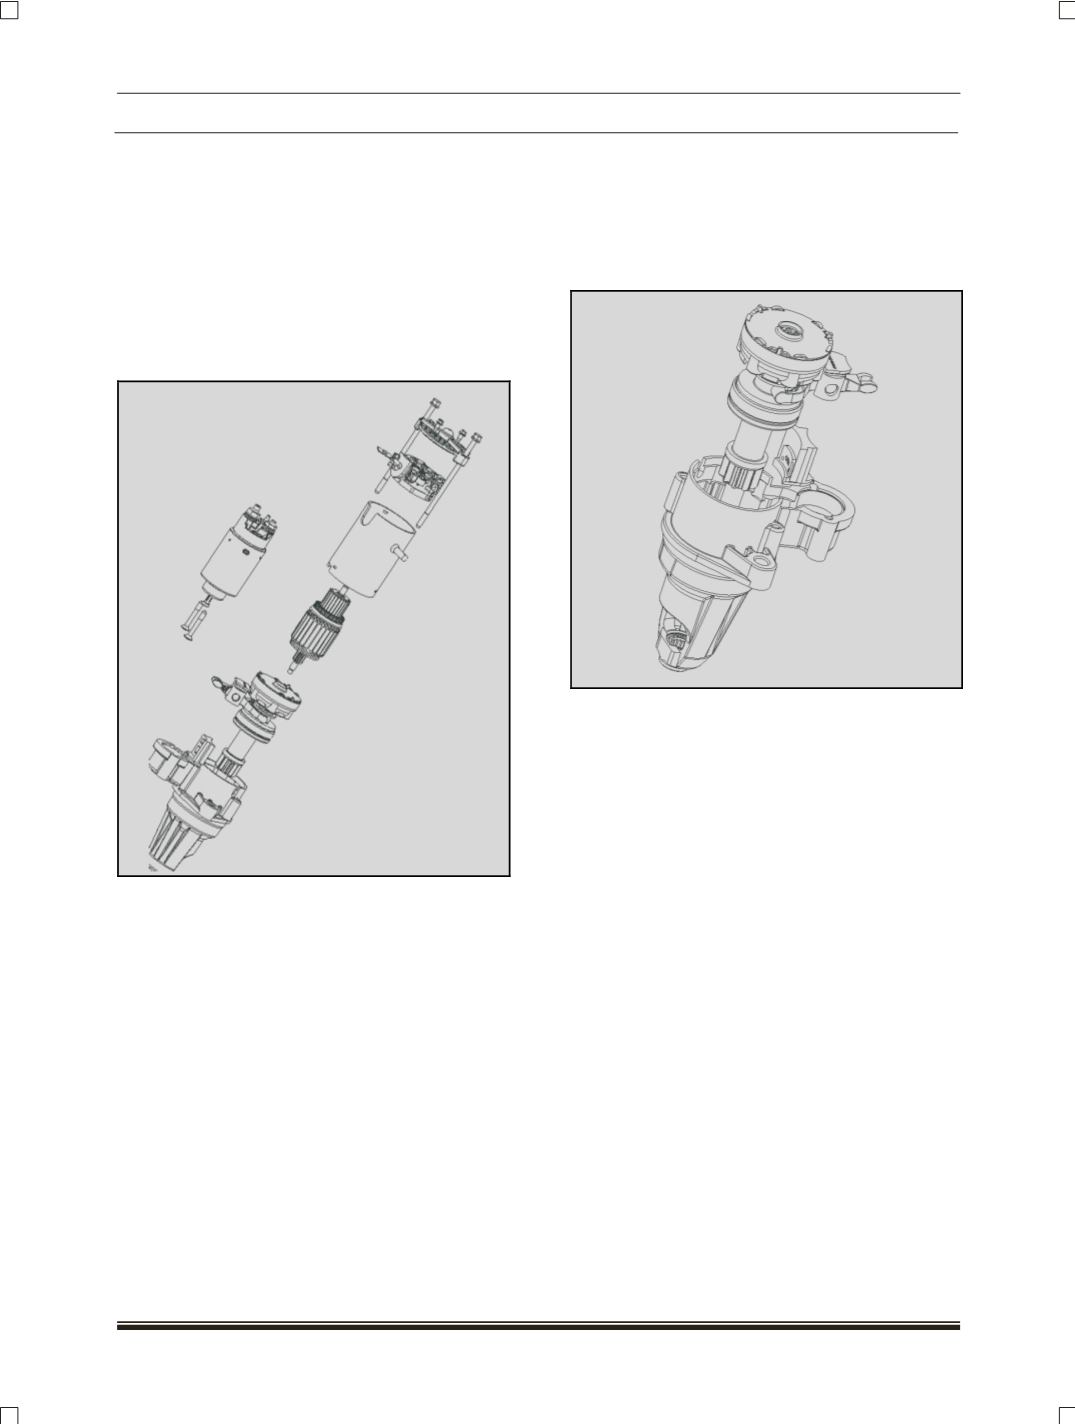
Removal of Drive and gear Assembly and
housing assembly
Remove the Solenoid as per the above
procedure.
Remove the Brush Holder as per the above
procedure.
Remove the frame as per the above procedure.
Remove the armature
Remove the Drive and gear assembly by hand .
Remove housing assembly.
NOTE
While removing the drive and gear assembly
care should be taken that the lever does not get
entangled and damaged.
Care should be taken to retain the drive stopper
cup from falling off from the drive shaft.
3. Fitment of Drive and gear assembly
Apply grease at the output shaft end, lever
pocket, lever as per the specification.
Drop the drive and gear assembly into the
housing assembly.
Assemble the seal into the pocket.
NOTE
Ensure no damages on mounting surface of the
housing.
Ensure no dirt inside the bushings on the
housing.
Ensure that the dowel is present on the
housing.
Ensure no damages to the pinion teeth
Ensure drive stop C ring and cup are present.
9