


 606 / 1575

Rear Axle
18
Assemble companion flange, washer and new
pinion nut. Tighten pinion nut using torque wrench
by holding companion flange with help of special
tool Tighten nut to specified torque or until all end
play is removed. Continue to tighten in small
increments until specified rotating torque is
achieved.
Note:
Excessive care must be taken during bearing
preload torque adjustment. Do not over tighten,
loosen and then retighten nut. Do not exceed
specified bearing preload torque.
If preload torque is exceeded, a new collapsible
spacer must be installed. Refer procedure to
remove pinion nut, companion flange, pinion outer
bearing cup & cone to replace collapsible spacer.
Reassemble all removed parts and recheck for
rotating torque of pinion again. It should read
between 0.18 to 0.26 Mkg with new bearings.
Note:
If only oil seal needs to be changed, measure
rotating torque of pinion with the help special tool.
In this case use new collapsible spacer and keep
same rotational torque of pinion as before.
3.7 CASE REASSEMBLY
Note:
Always replace gears as a complete set. Do not
mix new gears with old gears, as this may cause
uneven wear and shorter gear life.
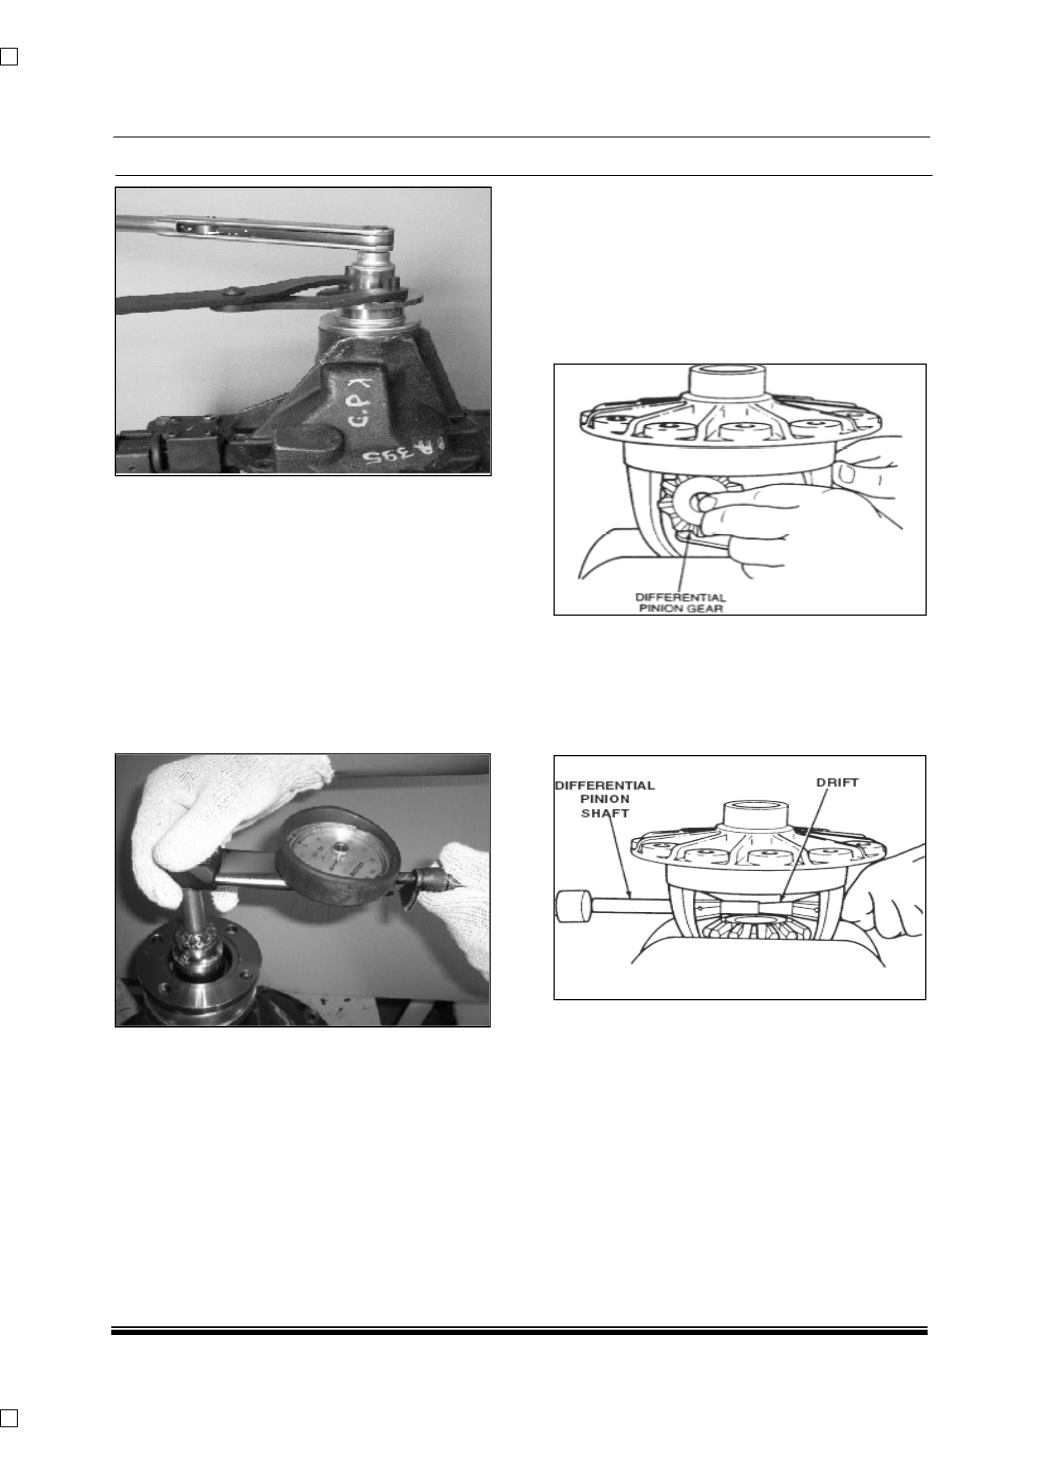
1. Place differential case in vise as shown. Apply
grease to new side gear thrust washers and
hubs of side gears. Assemble both side
gears. Apply grease to new pinion mate
spherical washers, and the pinion mate gears.
Assemble pinion mate gears.
2. Use a drift to line holes of the gears up with
case. Assemble shaft, drive on shaft to
remove drift. Be sure vertical lock pin hole is
lined up with that of the case, and that pinion
mate washers are in place and lined up with
gear and case.