


 371 / 516

BRAKES
49
14.5 REMOVAL & REFITMENT OF WHEEL
CYLINDER
REMOVAL
1. Remove bleed screw cap, bleed screw and
protective plug
2. Pump out the brake fluid in a suitable container
by operating the brake pedal.
3. Remove boot/ dust cover
4. Push out the piston with seal’s.
5. Remove the seals from the plunger using a
blunt edged connector.
6. Discard all rubber parts.
7. Clean all parts in fresh brake fluid or alcohol
and place them on clean sheet of paper.
NOTE:
Never clean the wheel cylinder or internal parts
with kerosene, petrol or diesel, as it will lead to
contamination and damaging the rubber part.
ASSEMBLY
When properly inspected, assemble as follows:
Absolute cleanliness has to be maintained and
clean brake fluid must be used. Never use brake
fluid bled from the system as it may be certainly
aerated.
1. Lubricate the wheel cylinder bore liberally with
fresh brake fluid.
2. Dip new seals and piston in fresh brake fluid.
3. Fit the gland seal onto the plunger groove in
one of the pistons and insert the piston with
seal into the bore, such that the smaller stem
of the piston is facing outside.
4. Reverse the dust cover and fit the smaller dia
of the dust cover onto the neck of the piston
and fit dust cover on the wheel cylinder
5. Insert the spring assembly into the bore. Insert
the other plunger with seal (assemble as said
before) and fit the dust cover as per step no.3.
Fit a rubber band around the piston to retain
them within the bore.
INSTALLATION OF WHEEL CYLINDERS
:
1. Install the wheel cylinder assembly on to the
back plate with the setscrew and washers.
2. Tighten the wheel cylinder mounting screws to
a torque specified. Fit the bleed screw and
tighten to a torque specified.
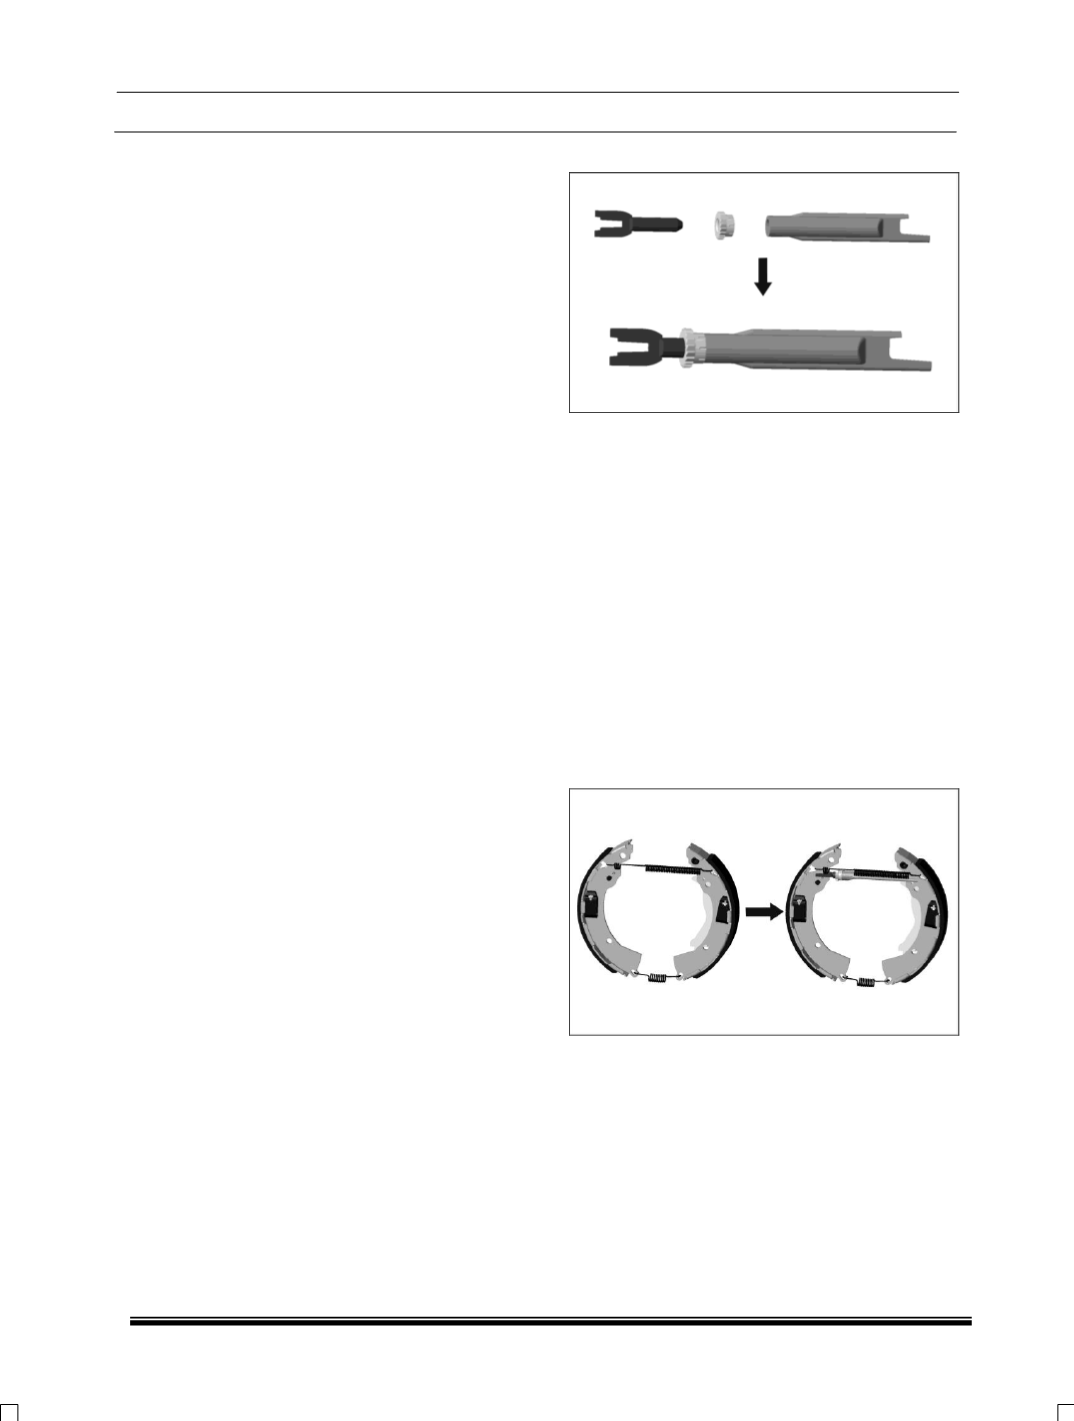
ASSEMBLING NEW AUTO ADJUSTER
After the auto adjuster has been removed from
the brake assembly, the old one has to be
quarantined,
To assemble the new adjuster, the following to be
done
1. Apply enough grease to the female push rod
2. Then apply enough grease to the female push
rod threads
3. Assemble the adjuster nut (ratchet) to the male
push rod
4. Then assemble the male push rod into the
female push rod
5. The adjuster assembly is ready for assembly
6. Then assemble it to the shoe assembly.
Assemble the adjuster to the shoe assembly