


 904 / 948

ELECTRICAL
279
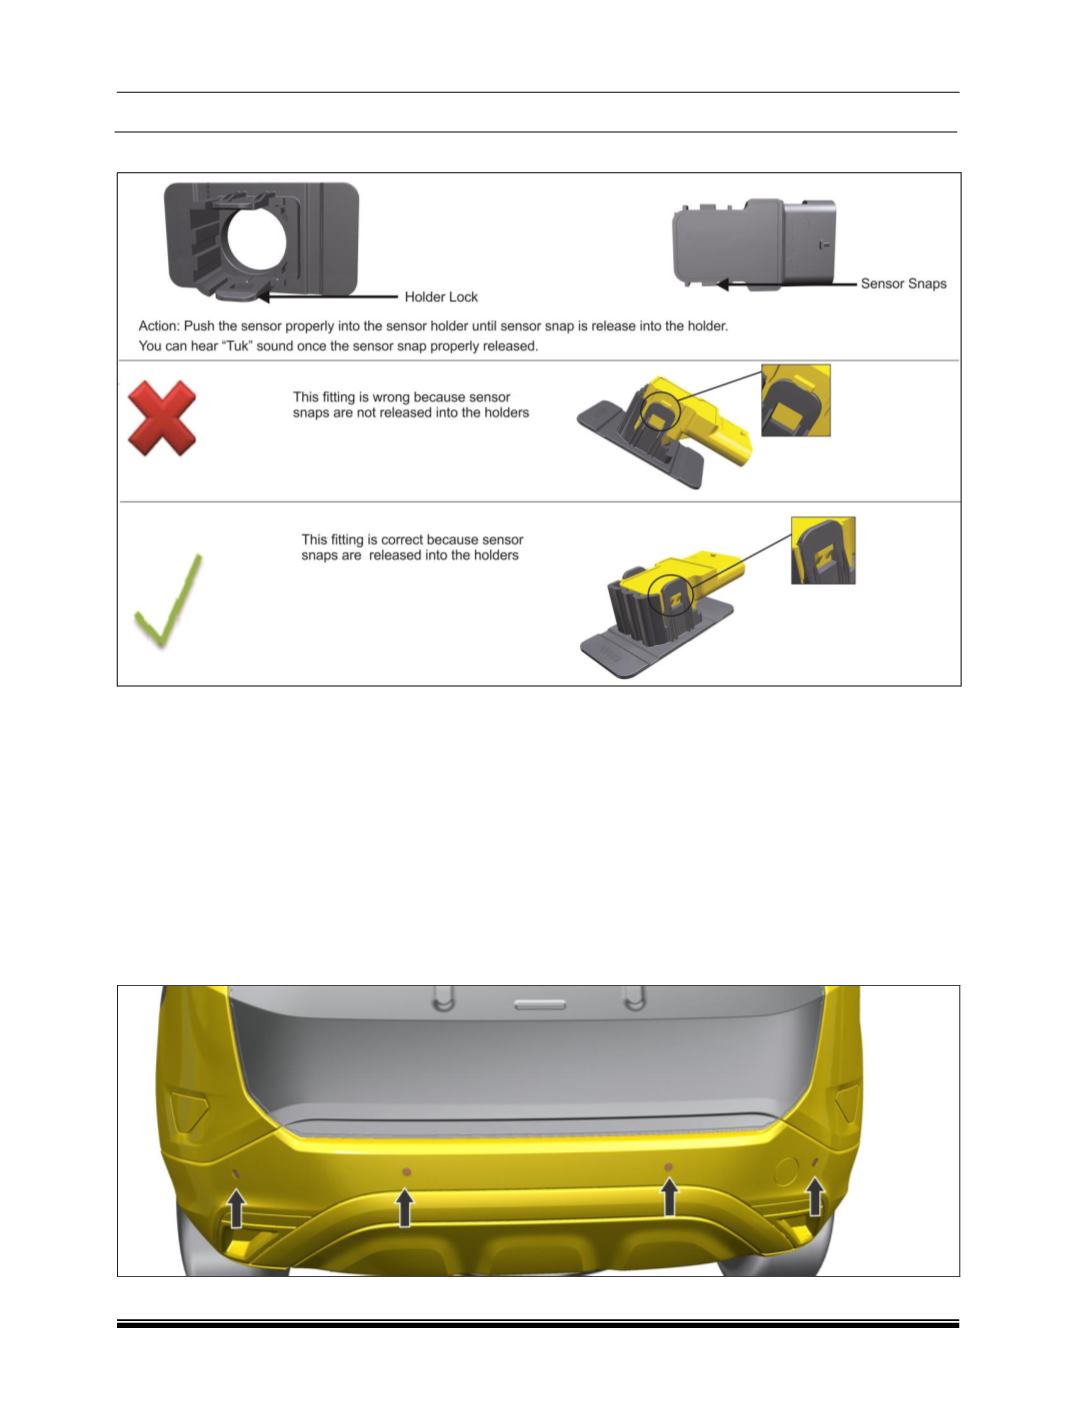
Step 8
: After step 6, please ensure sensor is fitted into the holder or not. See below image.
Step 9:
Check wiring harness is fitted properly or not, "Please follow the procedure available in Service tool
for Calibration file flashing in sensor."
Step 10:
Activate park assist system, and check in Head Unit, whether sensor able to detect or not. This is to
ensure, you have done proper fitment.
Step 11:
In music system if HMI shows all sensors areas screen, it means, sensor are connected properly.
If “critical fault” appears on the screen, Check DTCs again if that particular sensor showing faulty or not. If
Yes, do the re fitment. Else, replace with other another new sensor.
Note:
1. While assembling, if sensor falls on concrete surface from above 1 meter height, do not use that sensor
for fitment
2. Due to any damage if holder comes out of the bumper, then replace with new bumper.
The view of rear bumper after proper installation of sensors as below: