


 682 / 1133

BRAKES
35
NOTE:
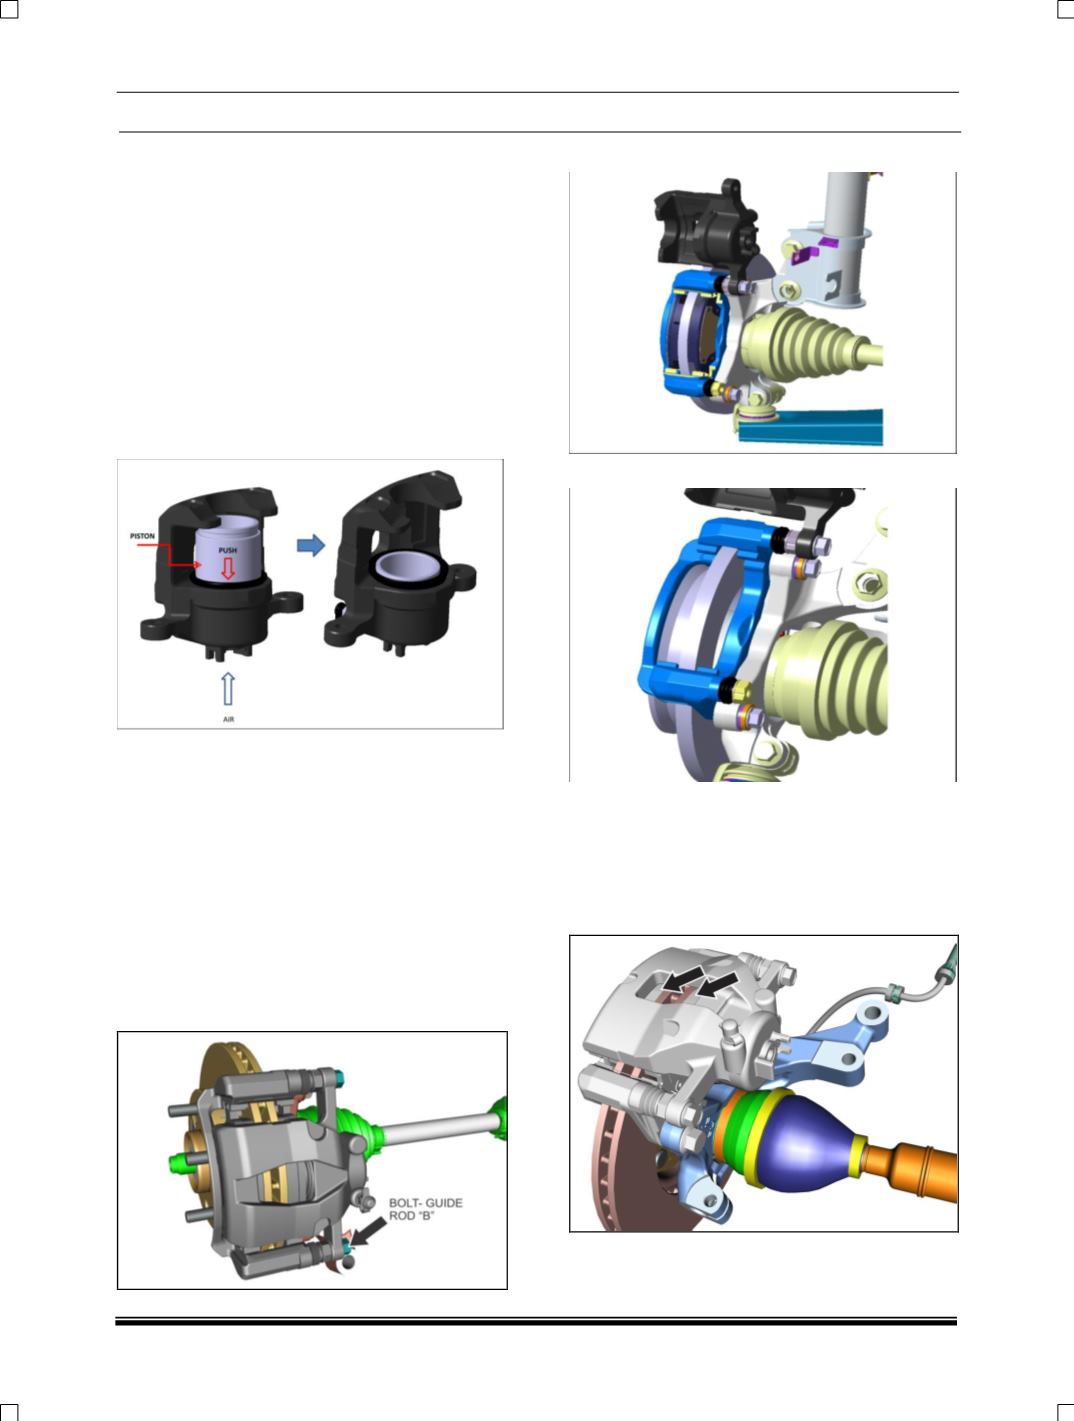
When assembling the boot piston, ensure in the
cylinder boot groove is free from damage, the
bore is smeared with oil. Apply (smear) enough
grease to the boot piston (inside and boot contact
area) before assembly, inspect the boot piston for
no cut, tear, damage and splashes, and after
assembly ensure the boot piston has been seated
well in the boot groove, by rolling the index finger
over the boot seating area.
3. Place the new piston on the boot piston
assembled, and apply air to the cylinder
through inlet port, when boot filled with air
press the piston into the cylinder
simultaneously cut air supply.
NOTE:
Before assembling piston, ensure/inspect that the
piston is free from damage, dent, spiral mark and
any material defects; apply (smear) enough
oil/grease on the outer diameter and groove.
REMOVAL OF PAD
1. Keep the gear shifter lever in neutral position.
2. Apply the parking brake.
3. Jack the vehicle and remove the rear wheel.
4. Loosen and remove the bottom sliding pin
bolt.
5. Swing caliper as shown in figure.
6. Remove brake pads.
ASSEMBLY:
Follow reverse procedure to assemble brake
pads.
REMOVAL OF CARRIER
1. Remove brake pads from carrier assembly.