


 538 / 1906

ENGINE
106
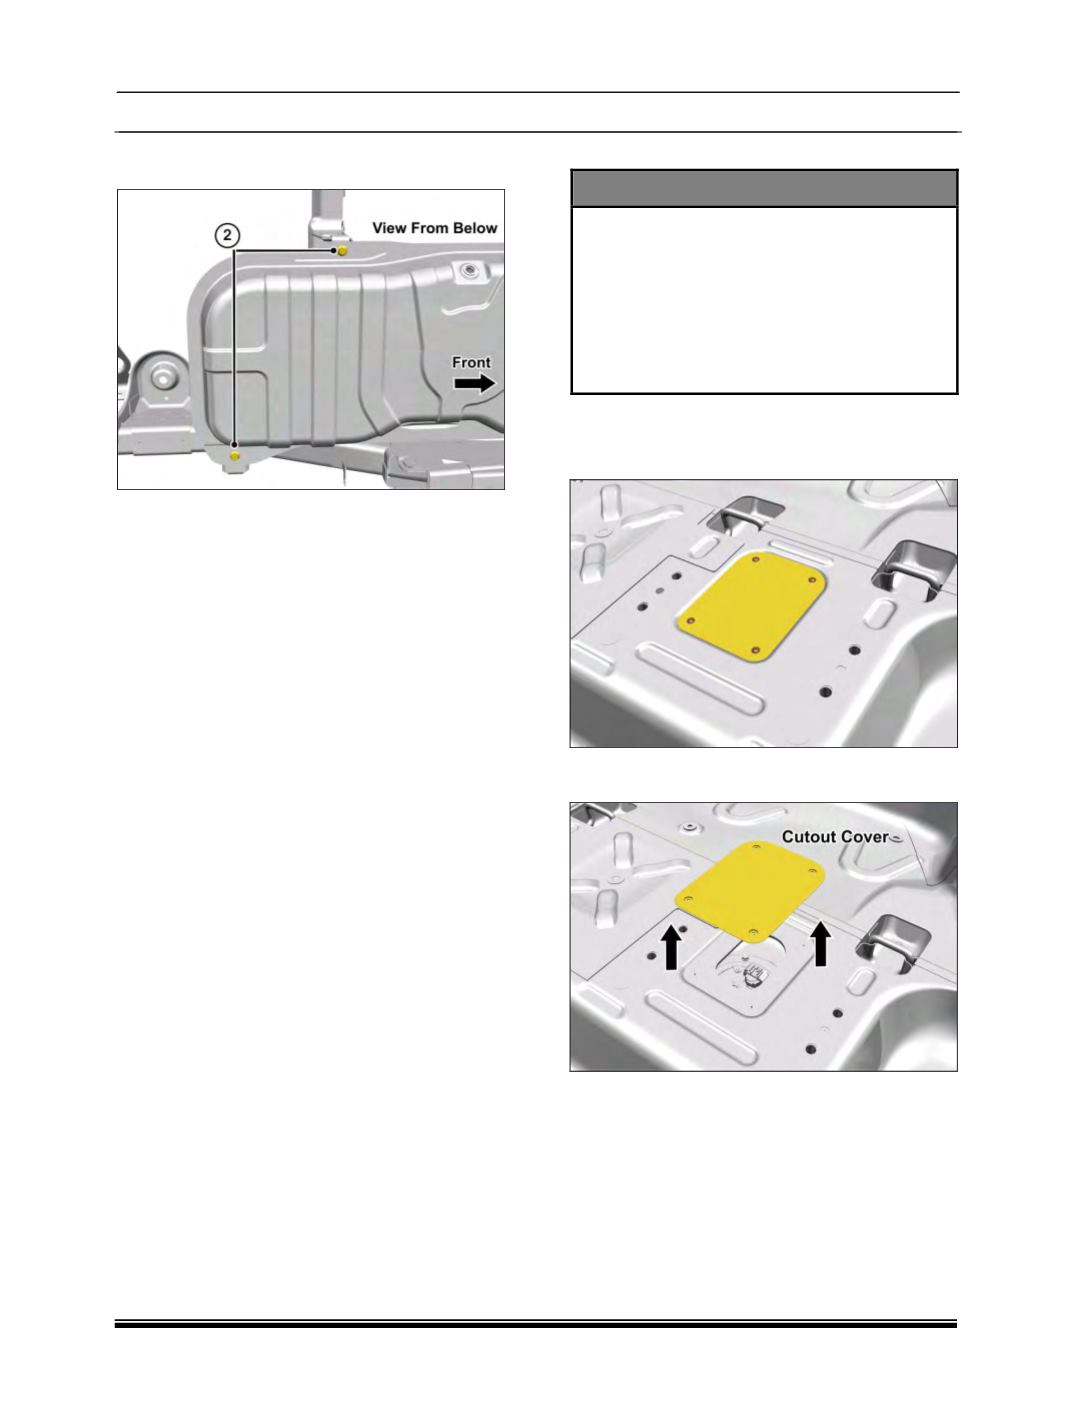
7. Remove the rear mounting bolts (2), mounted
from below and lower the tank carefully.
INSPECTION :
•
Check all hoses and pipes connected to
fuel tank for leaks, loose connections,
deterioration or damage. Replace if necessary.
•
Check fuel pump and fuel level gauge
gaskets for leaks, cracks etc. Replace if
necessary.
•
Visually inspect fuel tank for leaks and damage.
•
Replace if necessary.
•
Check TPV for dust accumulation. Clean if
required.
FITMENT :
Follow the reverse order of removal for fitment.
P. Tank Unit Removal :
CAUTION
Unless replacement is necessary, Tank
unit, fuel level sensor should not be
removed from the tank since the rubber
parts i.e. gasket, seals etc. may harden
when exposed to air and light.
Never apply an excessive force to the tank
unit nipple or lead wire. This may result
in bent or poor contact
.
1. Fold the 2
nd
row RH Seat and somersault it to
access the in tank pump cut out.
2. Lift the carpet with foam at the cutout.
3. Loosen and remove the four screws of the
cutout cover and remove it.