


 531 / 1236

FRONT AXLE (4X4)
32
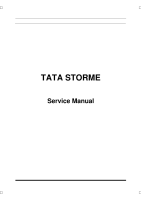
4. Place shims selected as per procedure on pinion
gear and install rear pinion bearing cone; using
installer, rear pinion bearing cone
(Part No.
270458903316)
5. Assemble bearing cone, slinger and new pinion
seal into housing. Use Installer, pinion oil seal
(Part No.289458903514)
.
NOTE
Apply a light coat of oil to the lip of oil seal.
6. Install new collapsible spacer onto pinion stem
and assemble in housing.
NOTE
Collapsible spacer should rest on bearing inner race
and Pinion Shoulder, and it can be fitted in any one
direction.
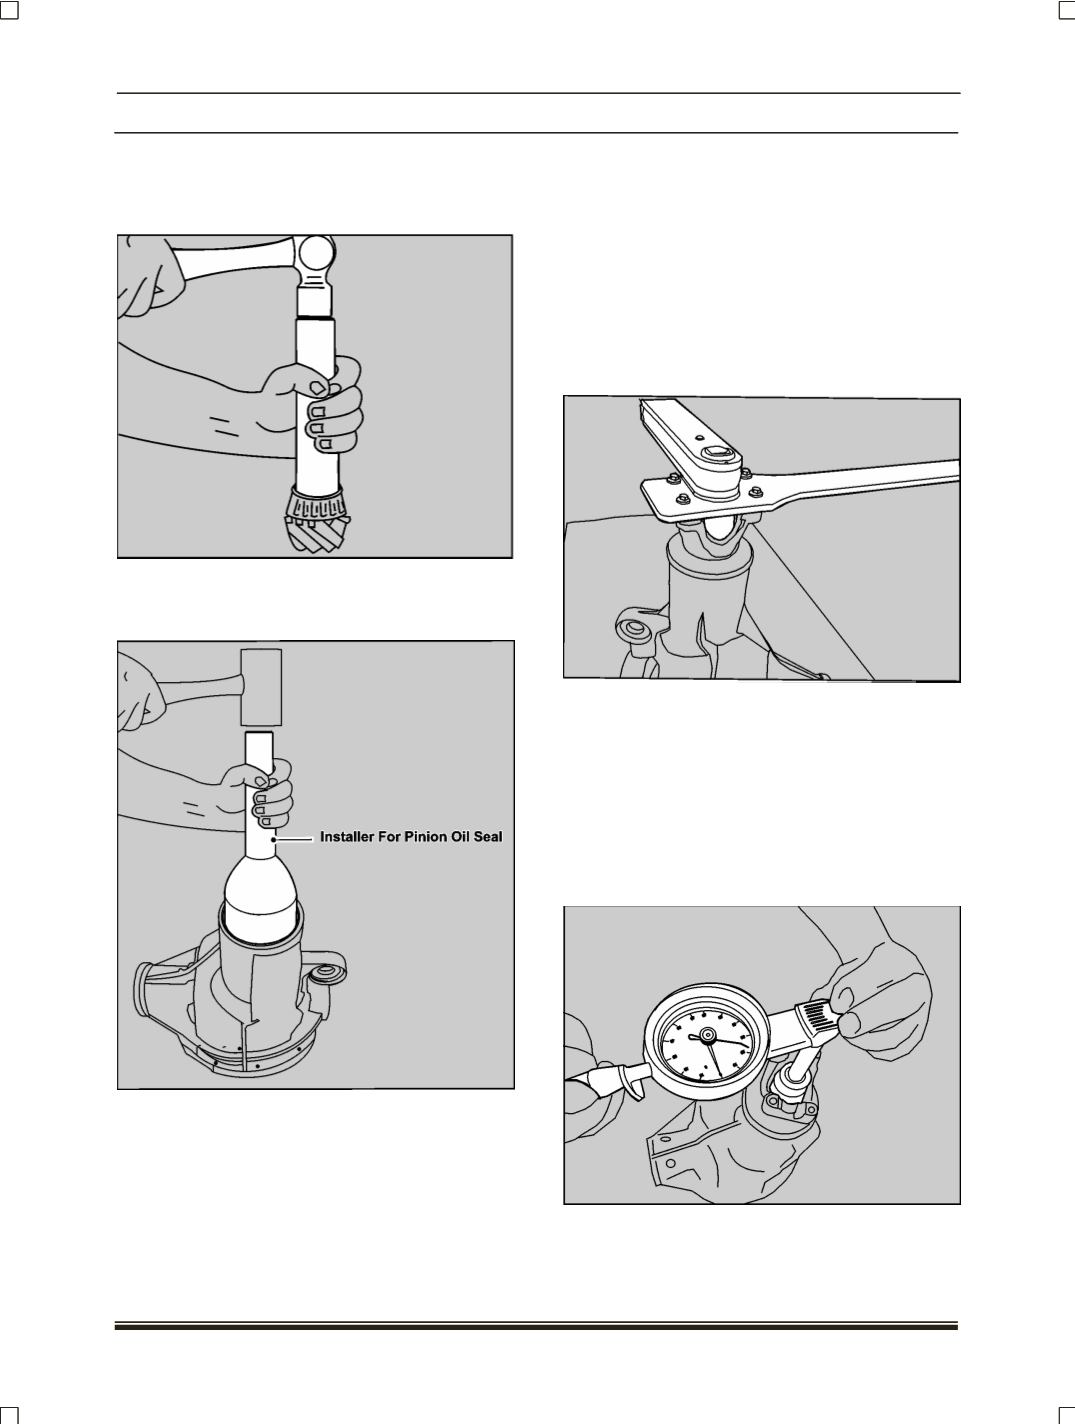
7. Assemble end yoke, washer and new pinion nut.
Tighten pinion nut using torque wrench by holding
end yoke holder with help of special tool
(Part No.
289458903517)
Tighten nut to specified torque or
until all end play is removed. Continue to tighten
in small increments until specified rotating torque
is achieved.
NOTE
Excessive care must be taken during bearing pre-
load torque adjustment. Do not over tighten, loosen
and then retighten nut. Do not exceed specified
bearing preload torque.
8. If the preload torque is exceeded, a new collapsi-
ble spacer must be installed and torquing
sequence as above to be repeated. Check for
torque of pinion.