


 436 / 1525

11
REAR AXLE
REMOVAL FROMVEHICLE
Place wheel chocks on front wheel.
Drain oil from rear axle while it is hot. Use Drive square
for drain plug. Pt. no. 2654 5890 3524.
Disconnect propeller shaft from tail pinion and lay it
on side.
Unscrew and remove the nuts and bolts connecting
end of shock absorber to the bracket on rear axle.
Unscrew and remove the bolts and nuts holding
antiroll bar to rear axle.
Disconnect the rear brake hose from bracket on
chassis frame after removing lock clip. Remove
brake bundy pipe from wheel cylinder and keep it
safely. Plug the opening to avoid oil flow and entry
of dirt.
Slightly loosen wheel nuts and lift rear axle assembly
by jacks placed under axle tube near spring seat.
Caution :
Do not place jack under rear axle centre
housing but only on axle tube especially
on a loaded vehicle.
Place suitable supports below the long members.
Remove wheel nuts and take out the tyres.
Release the brake shoes by turning brake adjusting
cams until brake drum rotates freely.
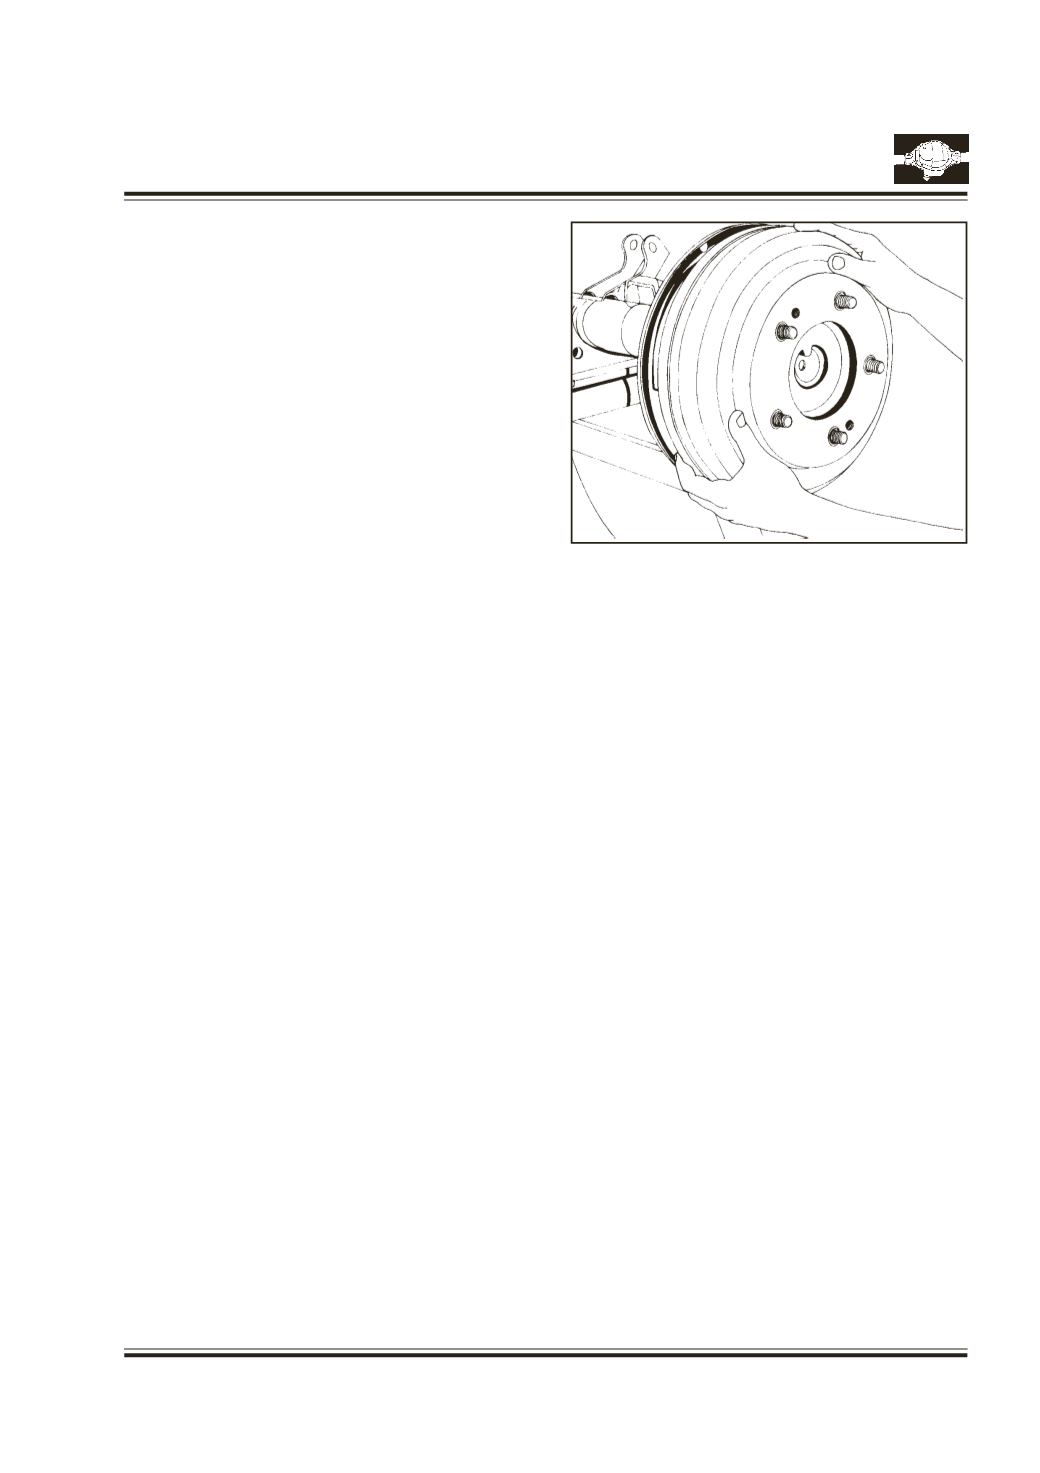
Remove brake drums. Use two bolts M10 X 1.0 X
25 mm. Fig. 2
Remove the spring clips holding the parking brake
cable with the anchor plate assembly.
Disconnect the parking brake cable from the lever
on anchor plate assembly and pull out cable.
Measuring Axle end play
(Axle on the vehicle)
Support the vehicle by placing two V-stands under
the axle locating it on the tubes. Confirm the axle s
in horizontal plane and the vehicle is steady.
Take out the wheel and brake drum. With a mag-
netic stand and dial, locating it on a proper base,
make the dial pointer to touch the flange face of
axle shaft.
Pull the flange towards you and set dial to zero at
this point.
Now Push the flange away from you and mark the
dial reading at this point.
This is axle end play reading. This should be within
specified valve.
Fig. 2
Removal of Coil Spring :
Support rear axle
If necessary jack up further the chassis frame till
the coil spring extended length gets accommodated
and then remove coil spring from its seat.
Unscrew and remove nuts and bolts holding the
panhard rod to chassis and rear axle.
Unscrew and remove bolts and nuts holding lower
link. Unscrew and remove nuts and bolts holding
the top link.
Supporting the rear axle at centre by a trolly jack,
draw out the axle assembly. Mount on workstand.
WARNING:
A serious of fatal injury can occur if vehicle is
not properly jacked.
Exercise extreme care when working on
components utilizing snap rings or spring
loaded retention devices.