


 834 / 1588

22
AIRCONDITIONING
4. Heater Assembly /Water Valve Assembly :
1. Remove the complete HVAC unit and separate
the blower assy .
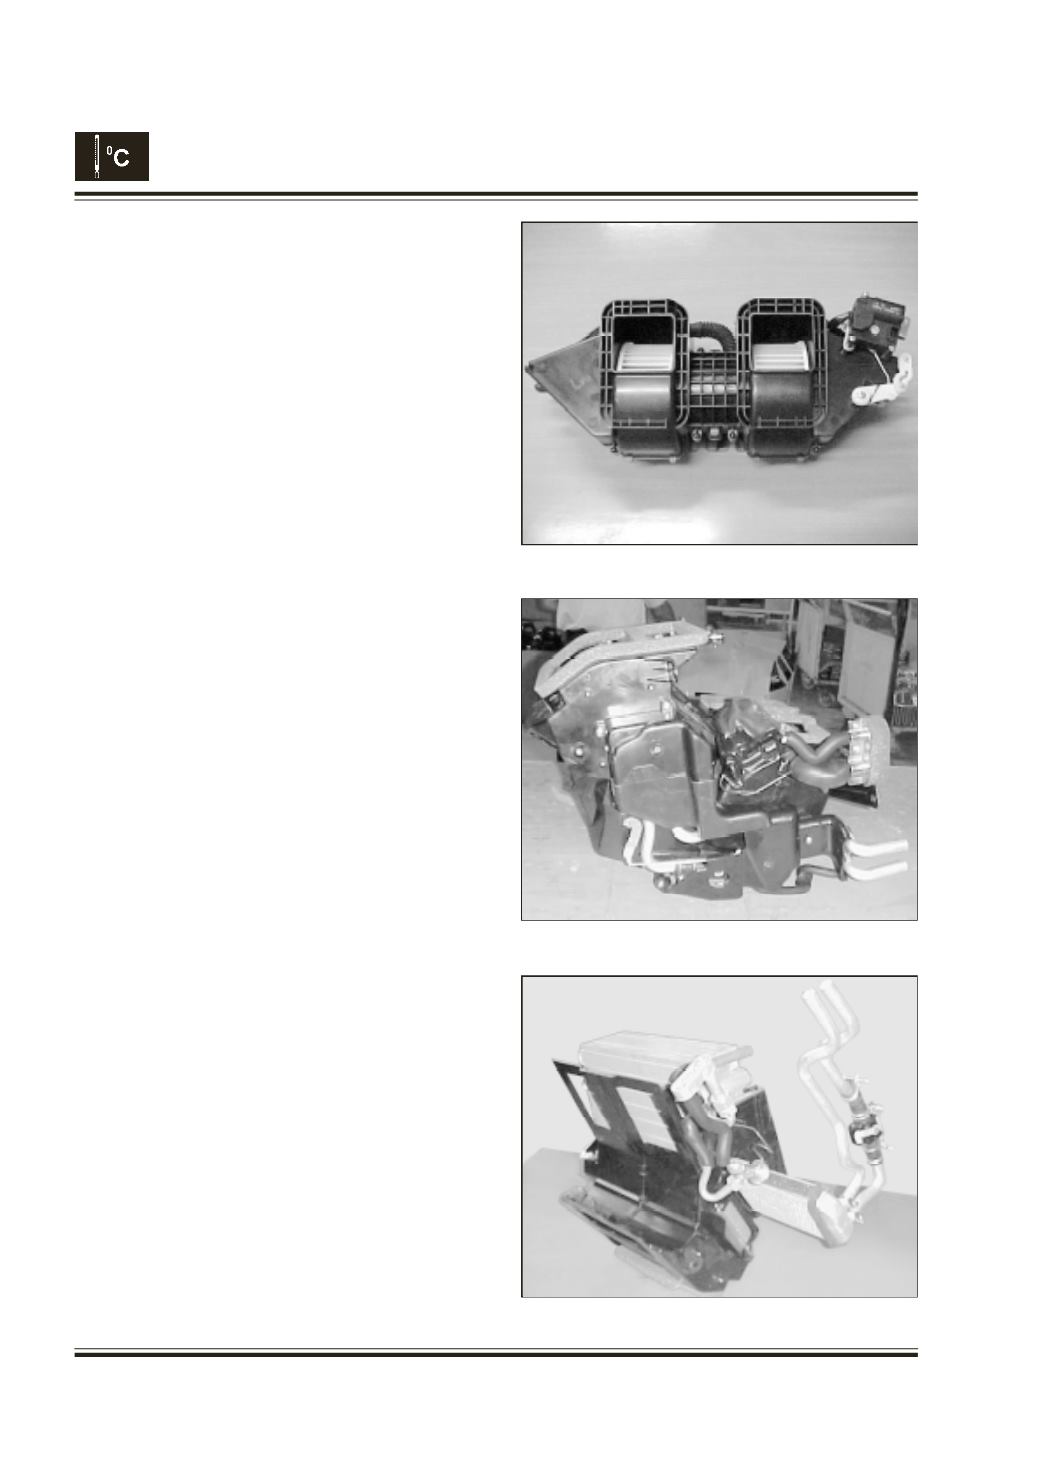
2. Remove plastics covers from HVAC unit to
expose heater assembly. Fig. 28 & 29.
3. Pull out heater assembly along with water valve
and pipes.
4. Disconnect hose on water valve by loosening and
removing the clamps.
5. Reassemble in the reverse order.
6. Replace HVAC on the vehicle.
2. Blower Assembly :
1. Remove the HVAC unit as explained above.
2. Remove the fasteners connecting blower unit
with the HVAC unit and take out the blower unit.
Fig. 27.
3. Replace the blower unit with new one and fit
with the fasteners to the HVAC unit.
4. Assemble the Complete HVAC assembly to the
vehicle as explained above.
3. Blower Resistor :
Blower resistor is meant for regulating the blower
speed. It is four-speed blower resistor and is also
provided with safety features, which blows it off
when current increases beyond limit.
1. Remove the glove box of the vehicle.
2. From the glove box opening, resistor is visible.
Take out the wiring harness connector from the
resistor.
3. Remove the resistor by opening the two screws
and replace it with new one.
4. Connect the wiring harness connector and fit the
glove box as earlier.
Fig. 27
Fig. 28
Fig. 29