


 1161 / 1588

15
FUELSYSTEM 2.2LDICOR
Fig. 17
Fig. 16
Inspection
After removing fuel tank, visually inspect fuel tank for
deterioration, leaks and damages.
Replace if necessary.
Note:
Any repair on fuel tank using external heat or flame
may result in personal injury or damage.
Fuel tank purging procedure
Remove the fuel tank from the vehicle. Refer the
procedure as mentioned above.
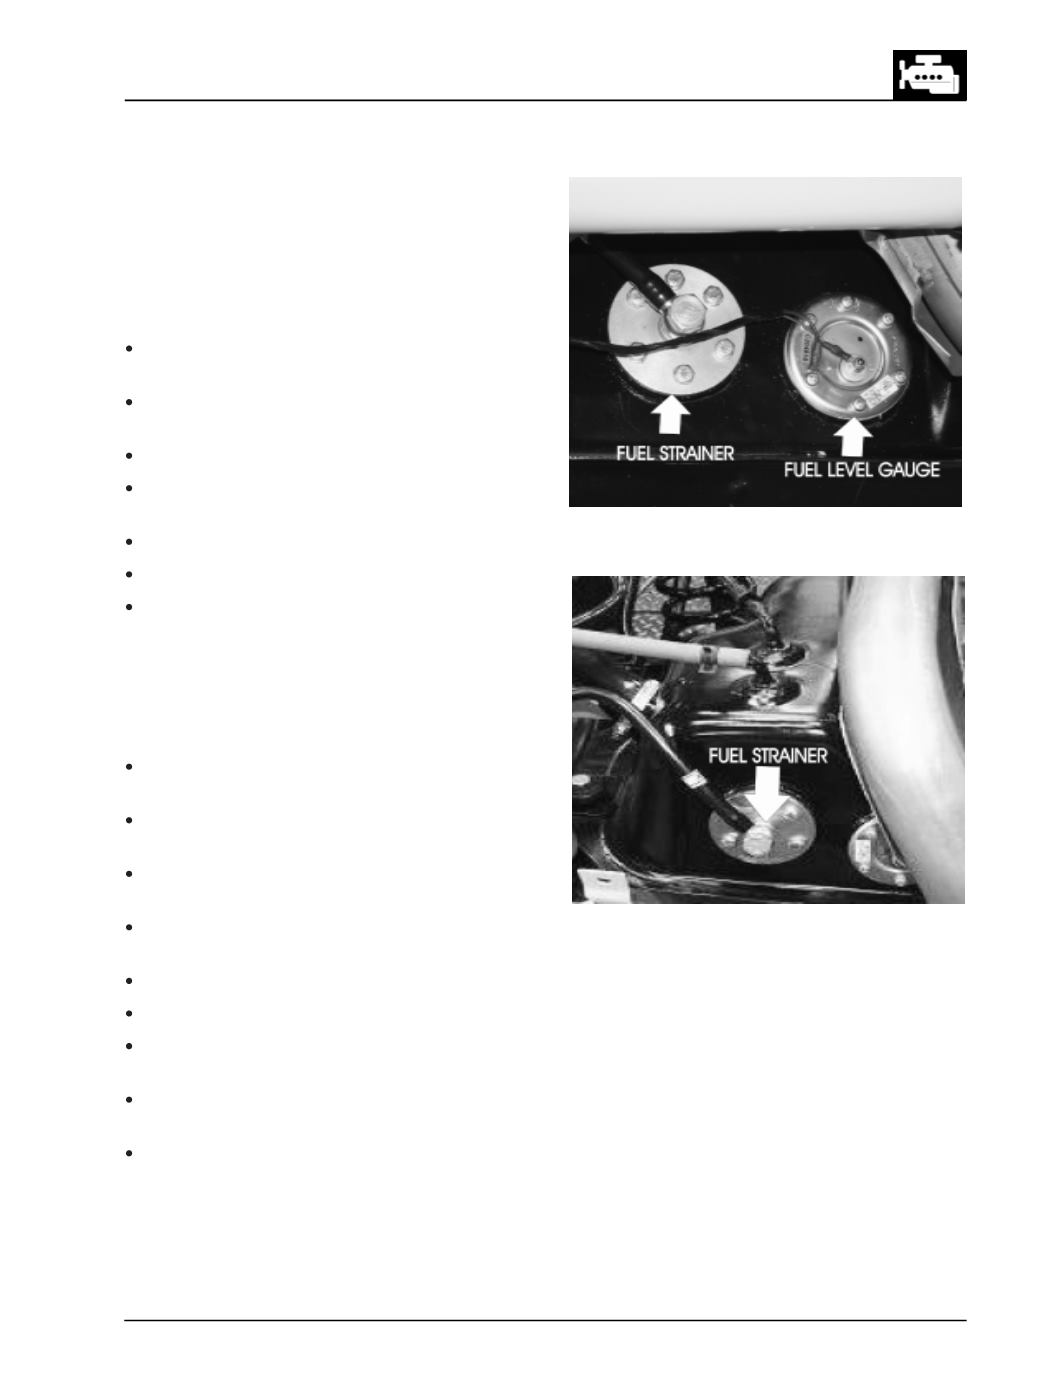
Remove fuel strainer and fuel level gauge from fuel
tank. (Fig. 16)
shift the tank to flushing area.
Fill tank with warm water or normal tap water,
agitate vigorously, and drain water.
Repeat the procedure until inside of tank is clean.
Replace the fuel tank if it is rusty from inside.
Completely flush out remaining water after
washing.
Warning:
Do not allow water to remain inside fuel tank after
washing. Thiswill cause corrosion inside fuel tank.
Assembly
Assemble fuel strainer with new ‘O’ ring and fuel
level gauge to fuel tank.
Connect suction line to fuel tank strainer and
tighten banjo bolt to specified torque (Fig. 17)
Connect return line to fuel tank by simply pushing
Q.C.
Install fuel filler hose/neck after fuel tank has been
mounted in place.
Fill the tank with fuel.
Visually inspect for the leakages.
Prime the fuel system (Refer the procedure already
explained):
Start engine and check for fuel leakage. Rectify if
necessary.
Check for smooth running of engine. If erratic
fuel supply is still felt, check for air suction in
fuel pipelines from fuel tank to HP pump and rectify.