


 181 / 1006

ENGINE 273 MPFI
175
ENGINE
Radiator Cleaning / Flushing
Radiator should be cleaned at regular interval to achieve
optimum performance. Improper cleaning would lead
to adverse effect; hence it is recommended that the
following procedure be adopted.
Internal Cleaning of Radiator
1. Close all ports except inlet and outlet.
2. Inject pressurized clean hot water (pressure range
0.5~1bar) through inlet at flow rate closer to the
rated engine coolant flow rate for 10min.
3. Allow the dirt / water to come out through outlet.
4. Blow air at 6 bar pressure through inlet/outlet for 5
times (30 s each).
5. Allow complete drying of Radiator before installa-
tion on vehicle.
External Cleaning of Radiator
1. Blow pressurized air at 6 bar for 2 min across the
core without damaging the tubes and fins.
2. Immerse the core in mild soap water (pH<9) for 30
min with all openings closed. If possible agitate /
shake the radiator for 10 times. If the core has
deposits of grease/oil, it is advisable to immerse
the core in kerosene bath before the soap water
solution.
3. Spray water jet at 50~70 PSI pressure across the
core at a distance of 2m without damaging the
tubes & fins.
4. Ensure that dust/mud/grease is removed in totally.
5. Allow complete drying of Radiator before installa-
tion on vehicle.
Radiator Installation
• Ensure that all the openings of the radiator are
closed properly except the inlet / outlet.
• Install the radiator on the vehicle ensuring proper
alignment, damping etc. as applicable.
• Connect the inlet and outlet pipes and clamp them
properly, Fit the fan shroud and etc.
• Fill the radiator with proper quantity of FRESH
PREMIXEDCOOLANT as recommended.
Auxiliary Tank
• If the source of leakage is auxiliary tank then
replace the auxiliary tank .
• Take out the auxiliary tank by unscrewing the
mounting screws to the header of radiator.
• Take out the auxiliary tank from its seat.
• Clean the area of header plate where the tank is
mounted.
• Place new auxiliary tank in place.
• Fix the member support & tighten the bolts
properly.
Thermostat
Defective thermostat may cause
• Over cooling due to thermostat valve sticking in
full Open position.
• Over heating due to thermostat valve sticking in
partial/full closed condition.
When above defect are observe, thermostat needs
checking.
1. Remove thermostat element from thermostat
housing
2. Mount thermostat element in suitable fixture and
3. Place the fixture in vessel full with water.
4. Fix dial gauge with its spindle on valve surface with
a pretension of 0.5 mm
5. Heat a vessel and measure the water temperature
with proper thermometer.
6. Note down the temperaturewhen dial gauge needle
start moving valve indicating valve open.
7. Note down the water temperature for needlemove-
ment of 8 mm (valve full open position).
8. The opening temperature and full open tempera-
ture as measure should be as mentioned. If they
do not meet the specifications, replace the
thermostat element.
Water Pump Assembly
• Check water pump for free rotation.
• Check water pump for flow rate at specified rpm.
• Check for water leakage through leakage hole. It
indicates that water seal is damaged and leaking.
Replace the water pump if necessary ( Refer
Lubrication System).
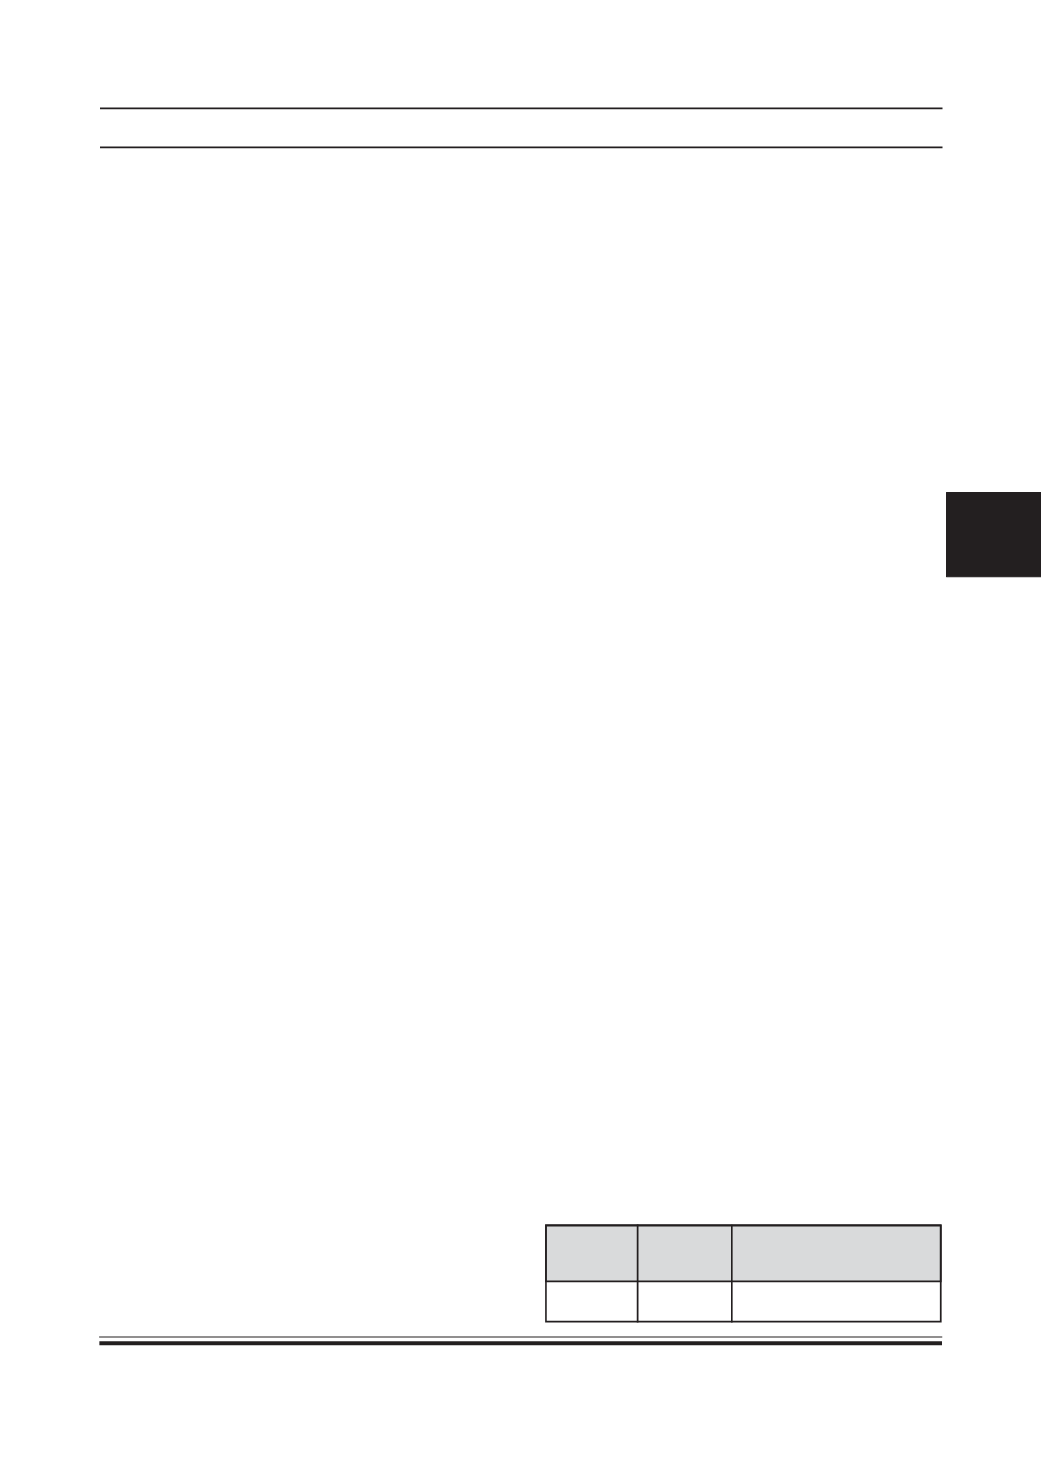
Water Pump Characteristics
5500 5500 50 litre/minute
Engine
RPM
Pump
RPM
Flow rate @ 0.8 bar
back pressure